Create an 8b account
If you still don’t have an account, create it now. You can use your Google or Facebook account to sign up.
Select a template
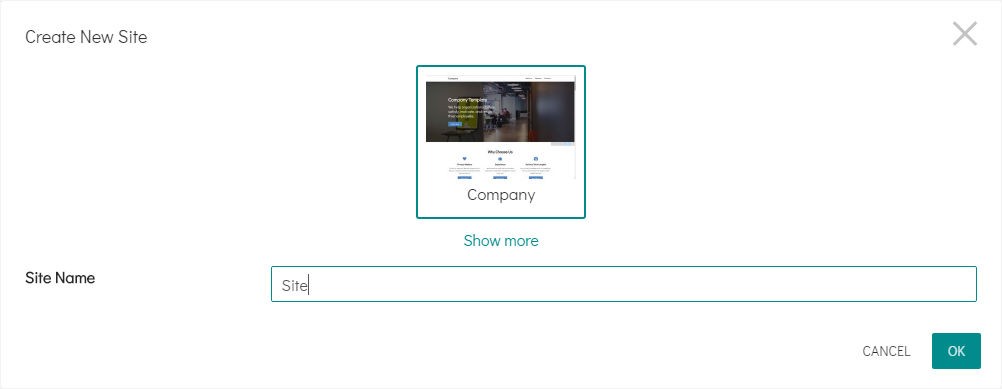
The first thing you can see after you create your account is the dialog asking what template you want to use for your future website. An 8b template is a pre-made set of thematic sections. Click on a template to select it, and enter your site name. If you want to change your template, you can do it before creating a site. Click on the Show More link under the selected template thumbnail. To create a website based on a selected template, click on the OK button.
Editing Area
When you create your site, it is opened in the editing area.
To open the main menu in the app, click on the button located at the top left corner.
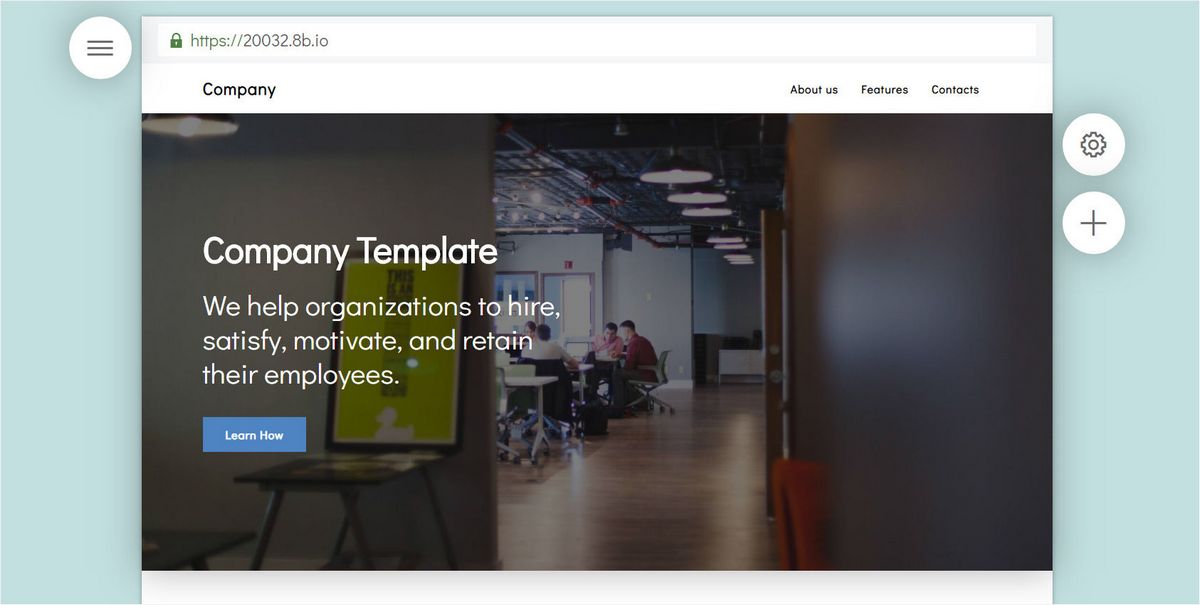
To add a new section click on the Add button. Hover over a section in the editing area and click on the parameters button to open the Section Parameters panel.
Sections Panel
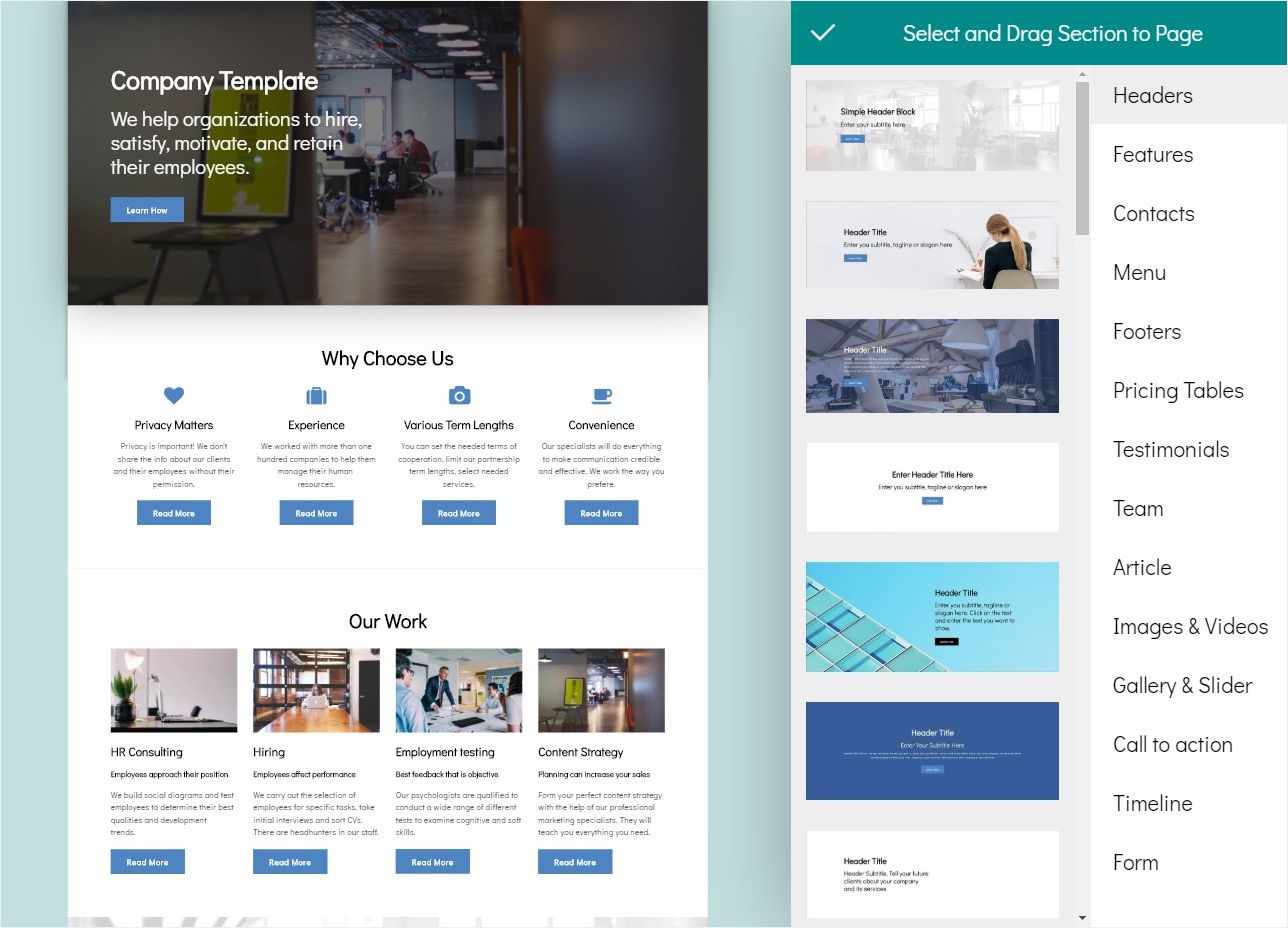
Find the Add Section to Page button on the right. Hover over some section if it isn’t shown.
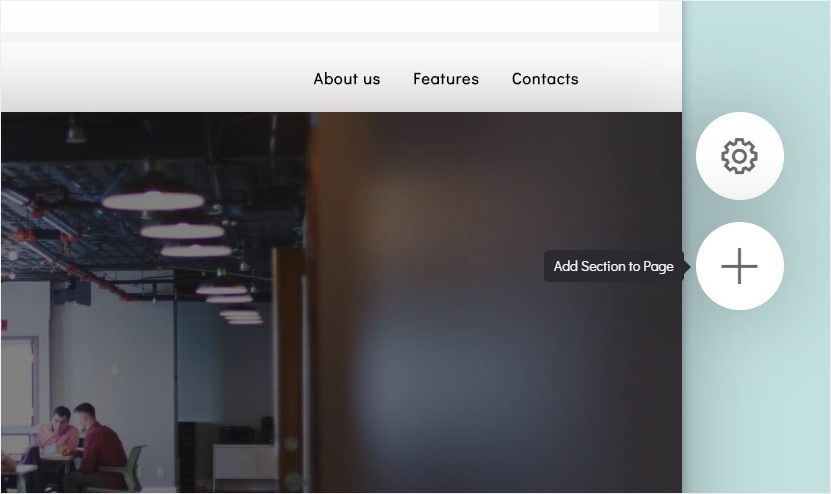
Once you click on this button, the Sections panel appears. You can see various section types on the right. You’ll see sections and layouts for them in this list. Click on a section or drag and drop it into a specific location of your page to add it.
Section parameters
All sections have sets of parameters. The section layout depends on the way section parameters are set. You can view pre-made layouts for each section on the Section parameters panel.
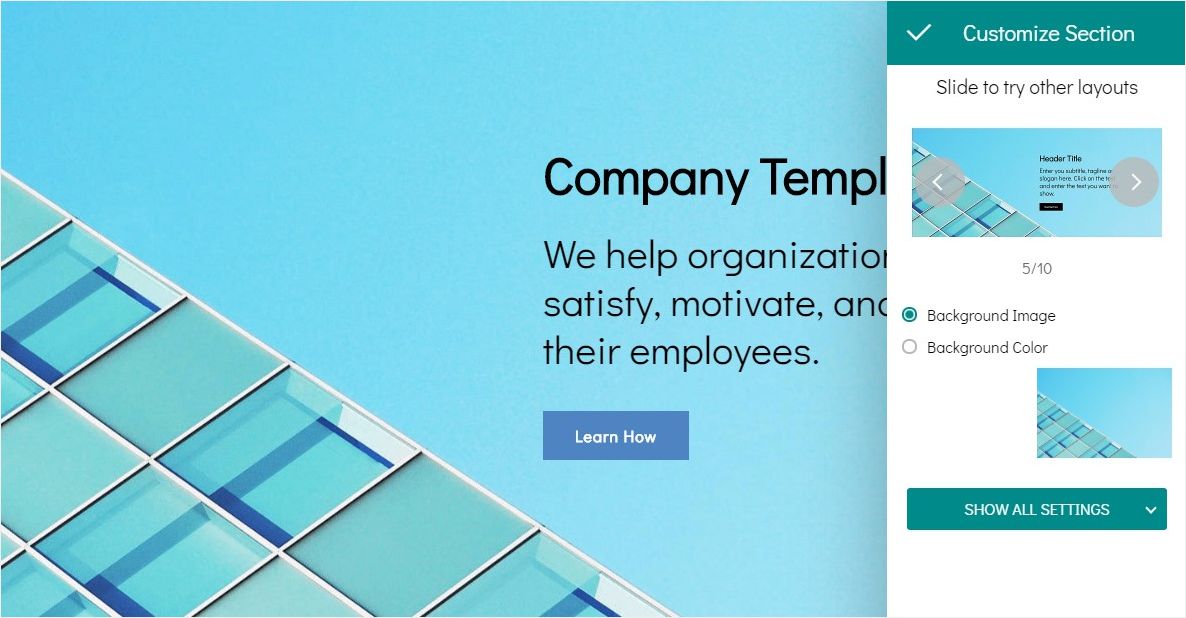
Click on the Show Settings button to view more section parameters. Note that if you change them manually, the layout slider is not fully functional.
Main Menu
You can see several tabs in the main menu:
Publish
If you click on the Publish tab, your site will be published online. You will see the published site in the 8b interface, and the dialog with the link to your site. You’ll be able to submit your site to Google for indexing and change your site domain.
Styles
If you open the Styles panel, you can set your site colors and fonts.
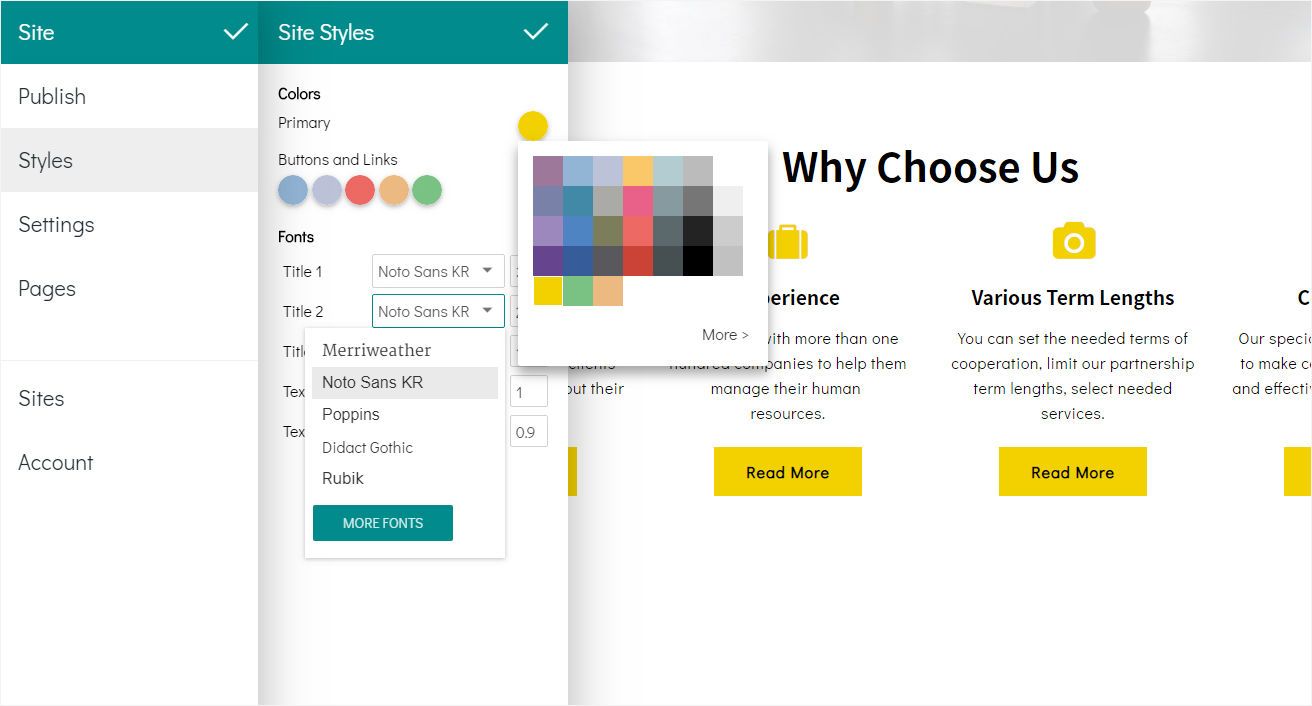
To change a color, click on it, and select the needed color. If you want some specific color, click on the More link. You can enter your color hex code or rgb/rgba code (it will be converted to a hex code).
To change a font select one of the fonts available in the list or click on the More Fonts button to select one of Google Fonts.
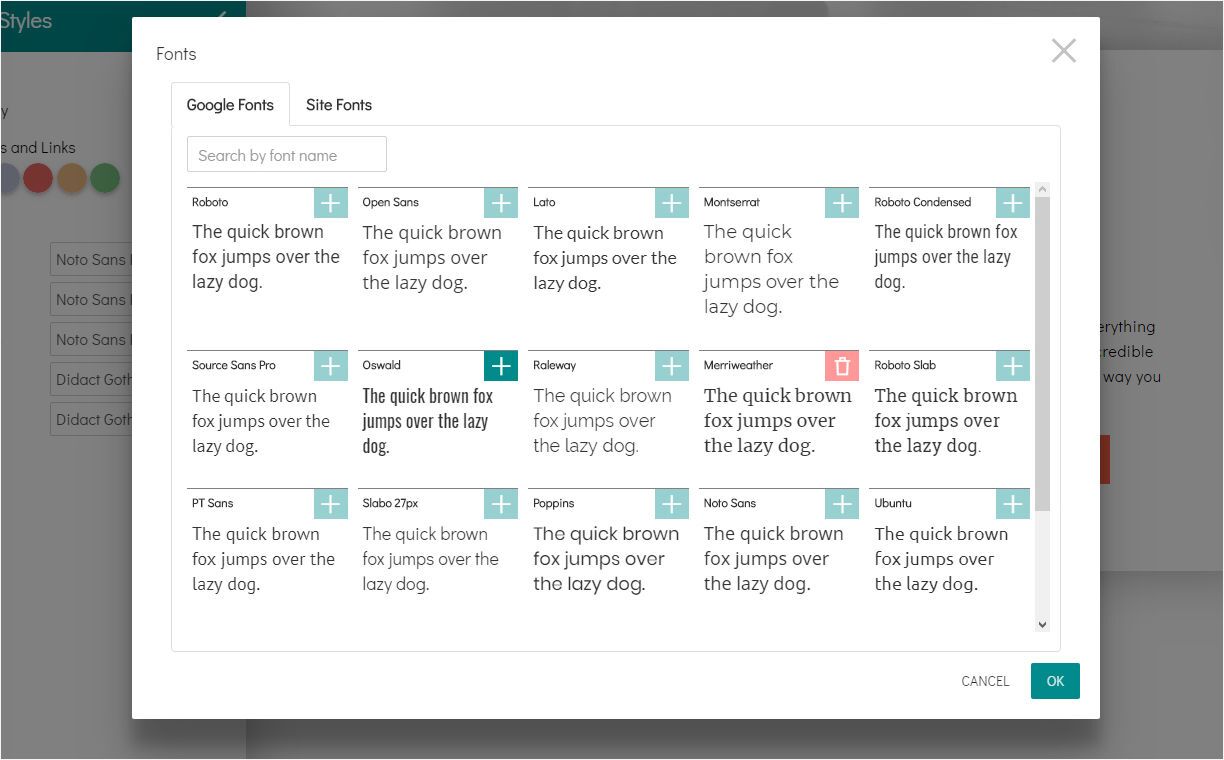
Open the Site Fonts tab to manage your site fonts. You can see all the added fonts. You can remove unused fonts by clicking on the red Remove button. You can’t remove the fonts that are used in your site project.
Settings
Click on the Settings to open the Site Settings dialog. View more info here.
Pages
Click on the Pages tab to open the list of pages included to your site.
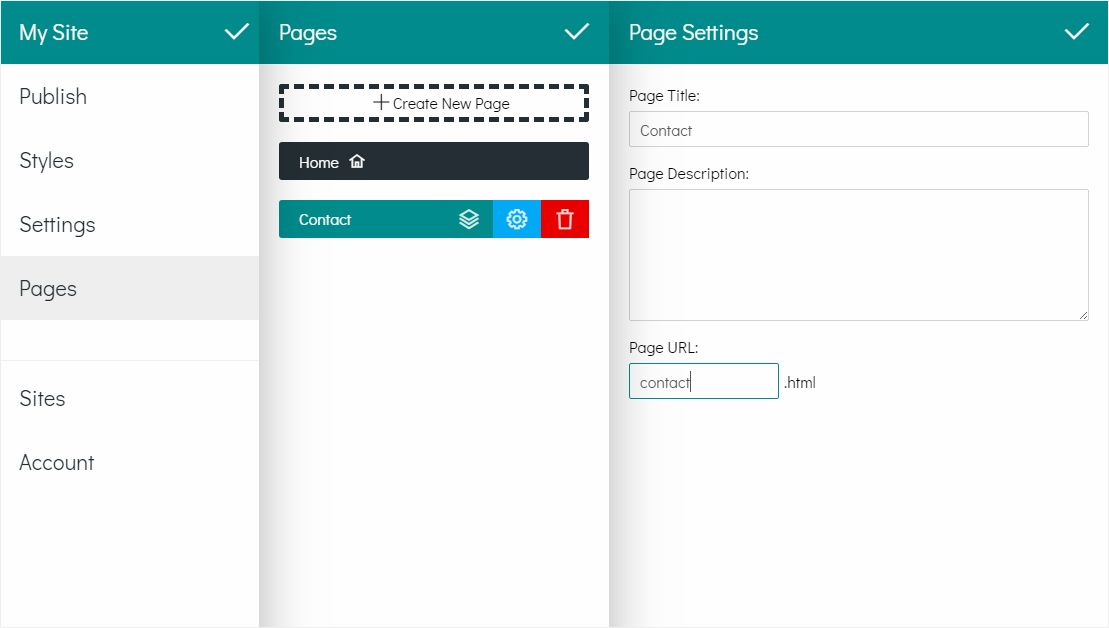
Click on the Create New Page to create a new blank page (it will contain global sections).
Also, you can clone an existing page. Select it in the list, and find the Clone Page button.
If you need to remove the page, hover over it in the list, and find the Remove Page button, click on it, and confirm. Please note that the Home page cannot be removed.
Click on the page in the list, and then on the blue gear icon to open Page Settings.
You can set your Page Title and Page Description. This info will be shown in browsers and used by search engines. Don't include double quotation marks. Also, you can set your Page URL here, its filename. It is shown on the address bar in a browser.
Sites
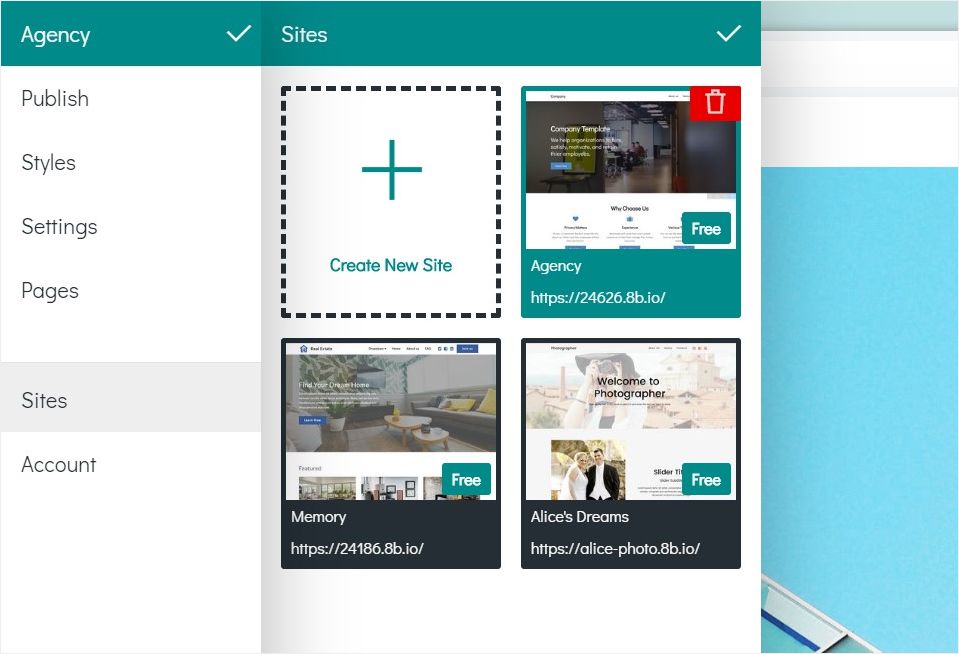
Click on the Sites tab in the main menu to open the Sites panel. You’ll see the sites you already created. You can create a new site: click on the Create New Site button.
To remove a site, hover over it, and click on the red Remove Site button.
Account
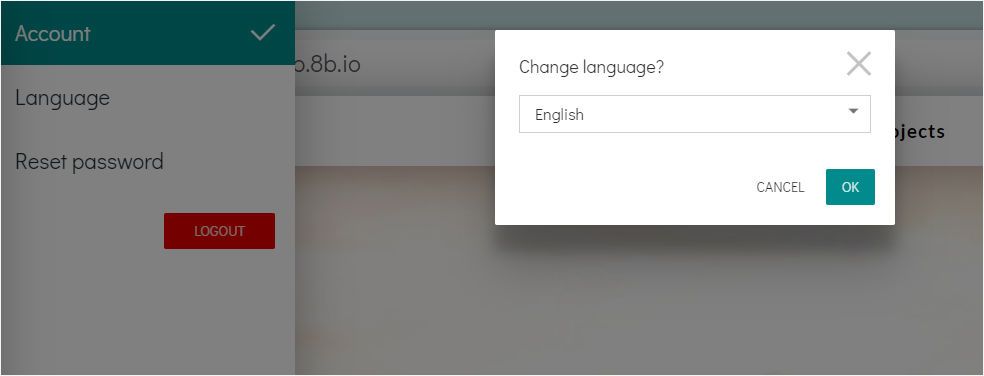
Change your language preferences here. Click on the Language tab to open the dialog with the list of languages.
Also, you can change your password here.
