1. Sign up
The first thing you can see when you start using the app is the Sign Up dialog. You can use your Google and Facebook account to sign up, or enter your email. Once you enter your email and click on the Next button, your password is sent to your email. Check your email to proceed.
2. Select a template to create your site
The template offers a pre-made site. For example, if you want to create a website for some photographer, you can use the Photographer template. It offers all the needed sections. It isn't obligatory to use a specific template. 8b offers basic sections and you can modify them according to your aims.
3. Give your website a name
The name of your site is used in headers and menu sections. You can replace this text later. Once you select your template and site name, click OK. That's all.
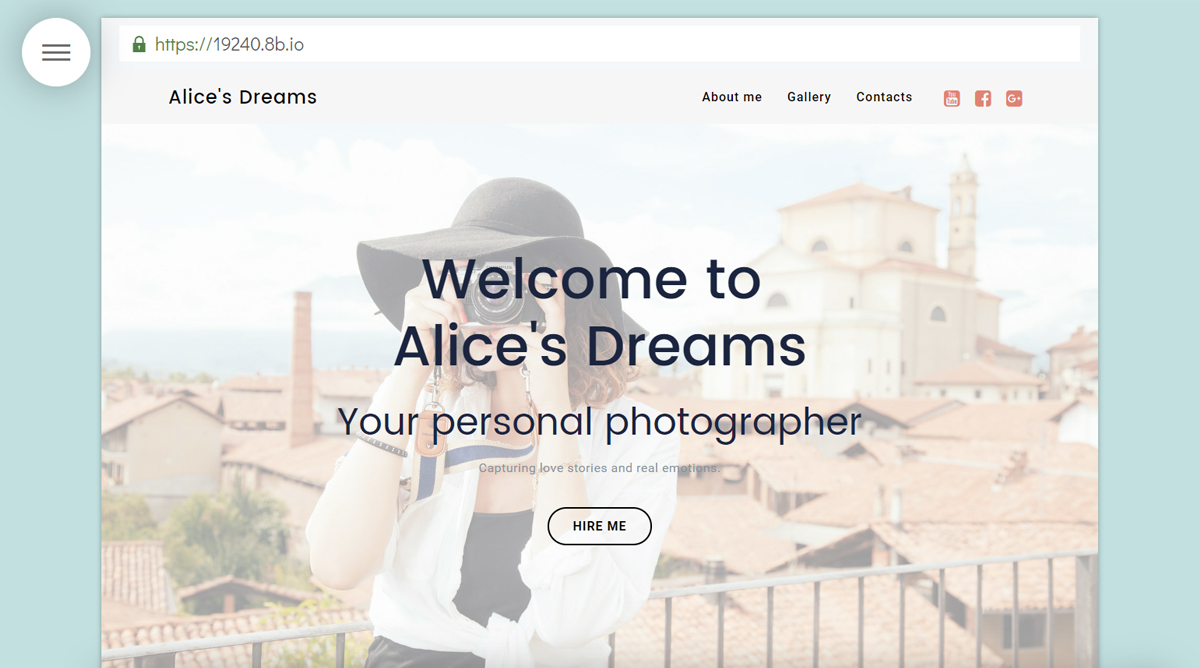
I used the Photographer template for my site.
4. Define your goals
What site do you want to have? Do you have any special ideas? What kind of content do you want to show? The proposed site structure is good for a landing page. The Photographer template offers header, several highlights, blog, about me section, services, pricing list, contacts, reviews, galleries, and more. You can simply place your content, and the site will be ready.
For my website, I'll use header, customer reviews, pricing list, and about me section. I remove the sections I don’t need. Also, I will add a contacts section and a form.
To remove the blocks you won't use, hover on it to see the Section parameters button. Click on it to find the Remove button.
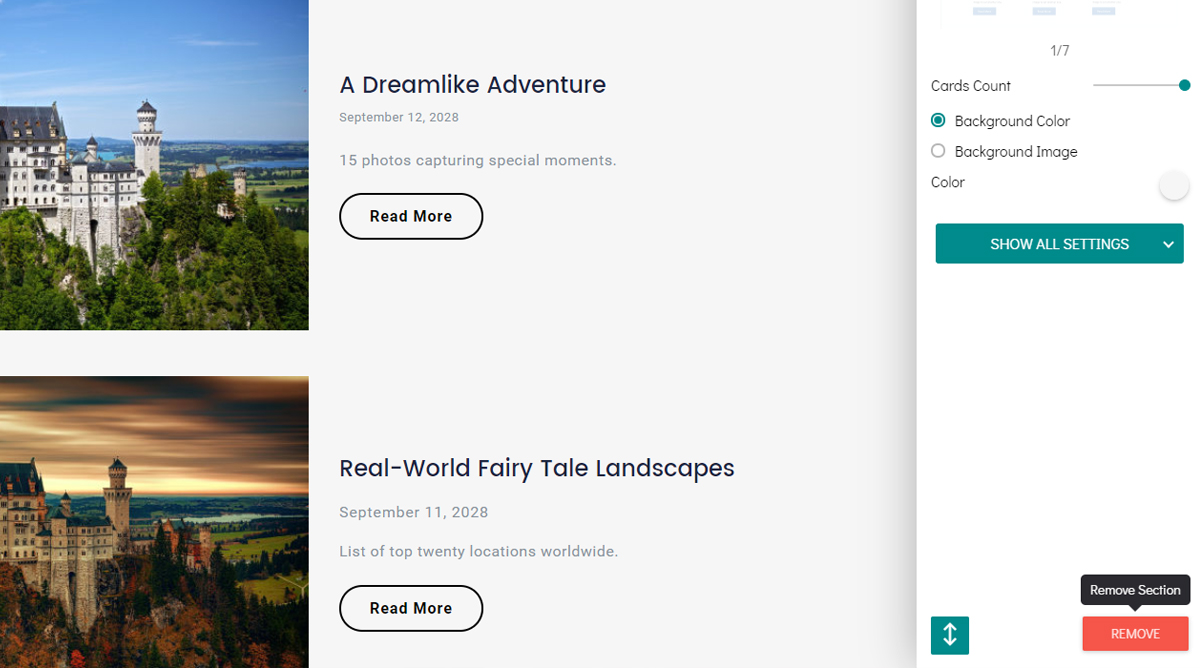
If you want to re-order your sections, click on one of your sections, open the Section parameters panel and find the Drag section button. Click on it and hold, and then drag your section to a needed place.
5. Edit sections and place your content
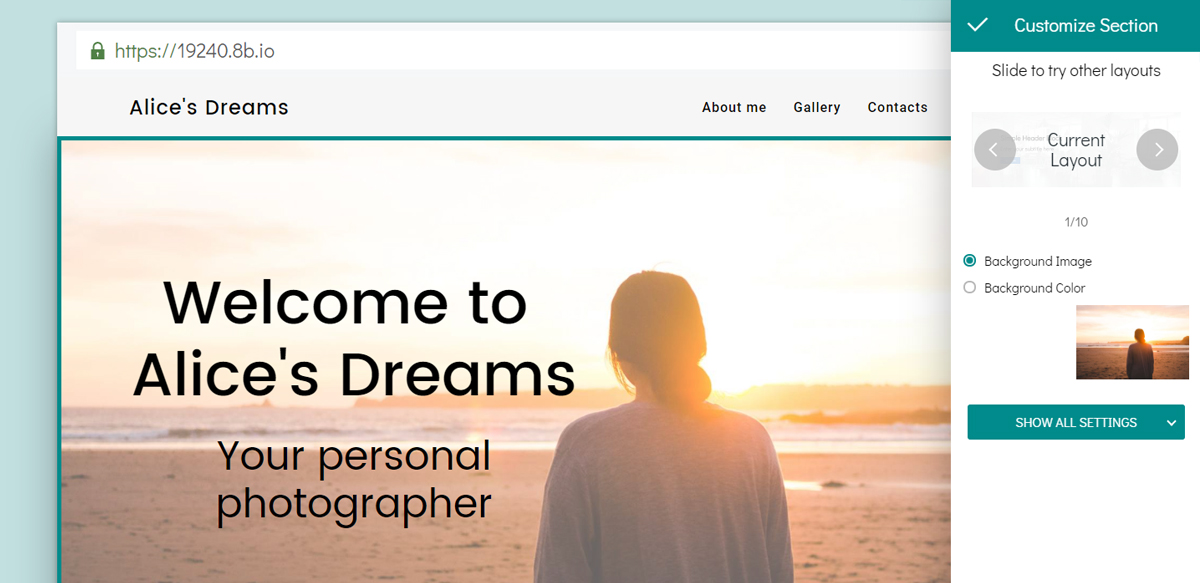
8b offers pre-made layouts for each section. Open the Section parameters panel to find the layouts slider.
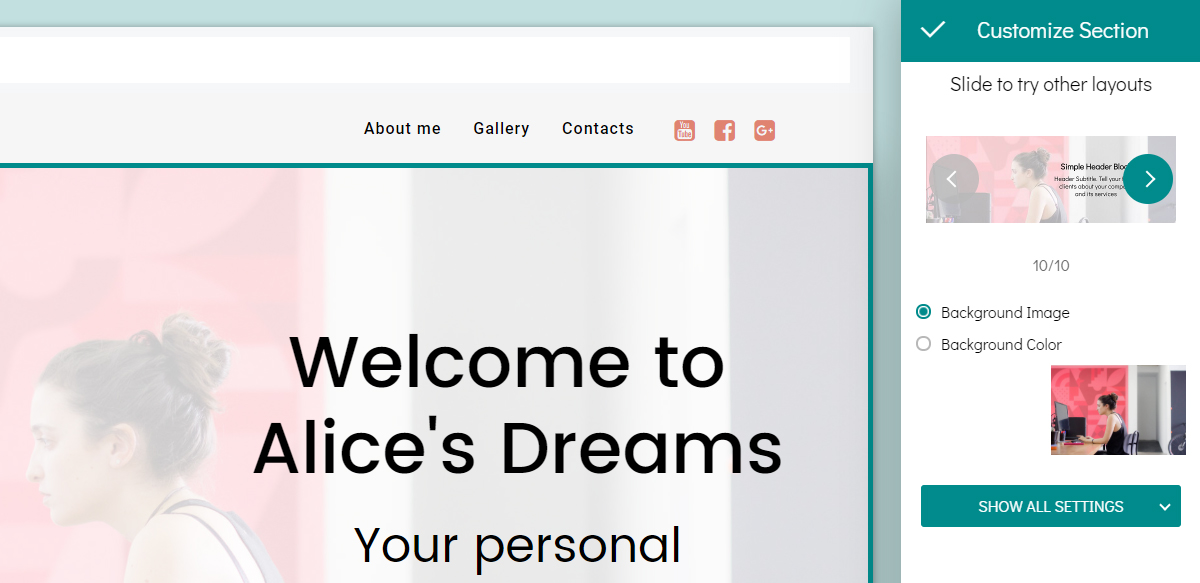
To change the background image, find it on the Section panel and click on it. You’ll see the Media image dialog. Click on Browser Computer or select some image from Free Online Library.
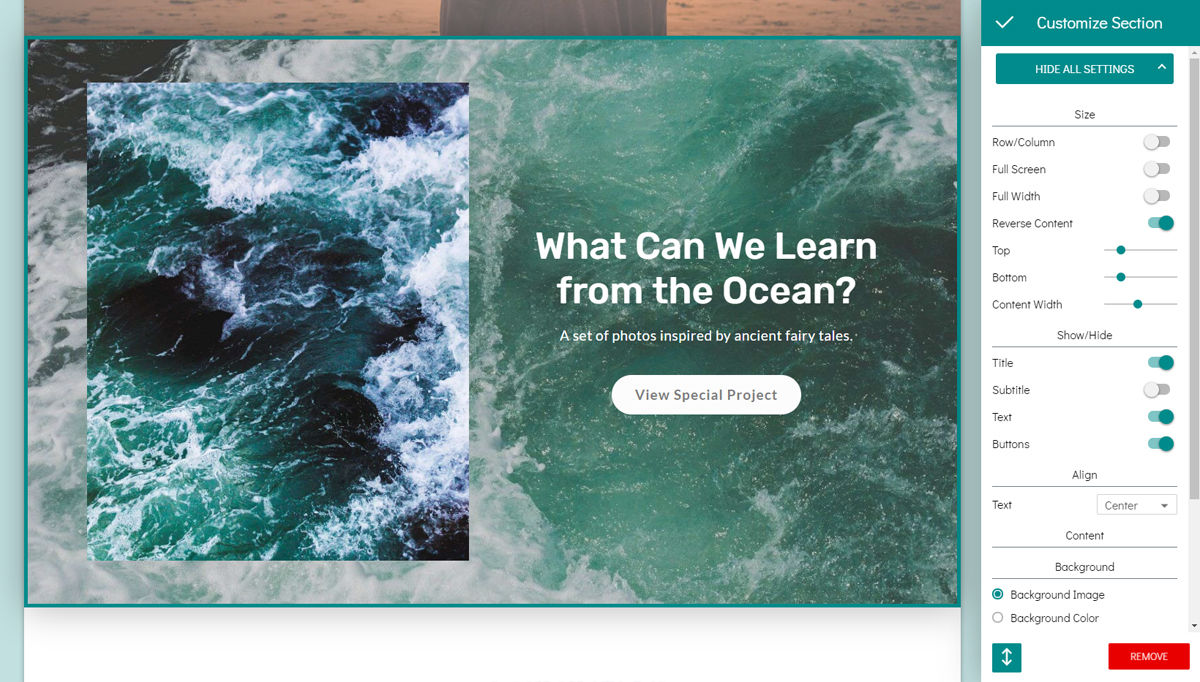
Find the Show All Settings button on the Section parameters panel to view all available settings. You can adjust them too if you want to set the way your block.
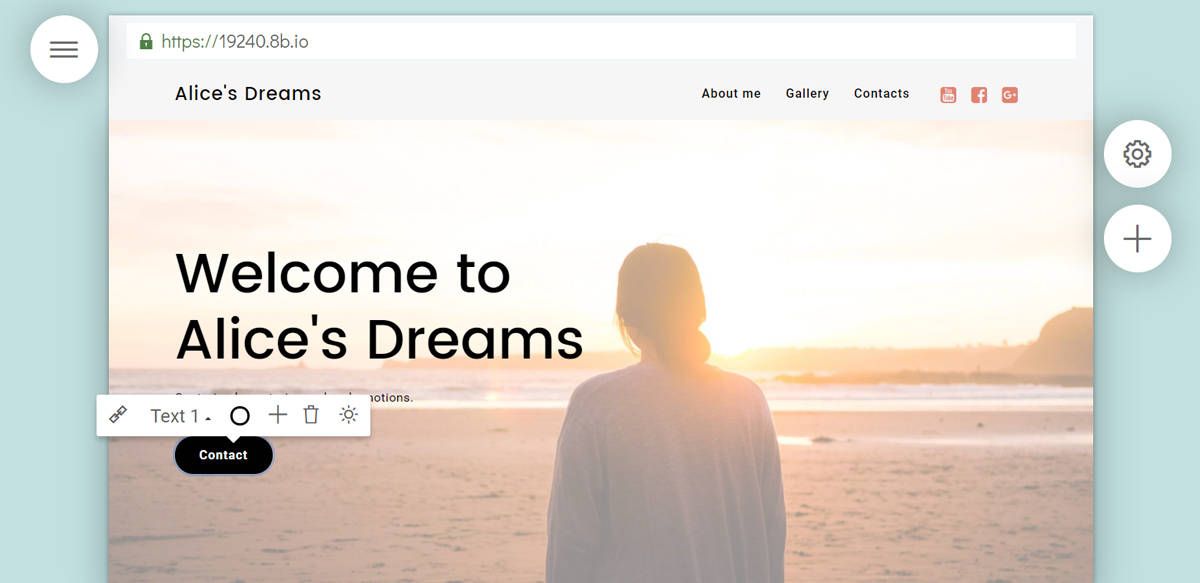
Click on a button or text in the editing area to replace the text and enter your captions.
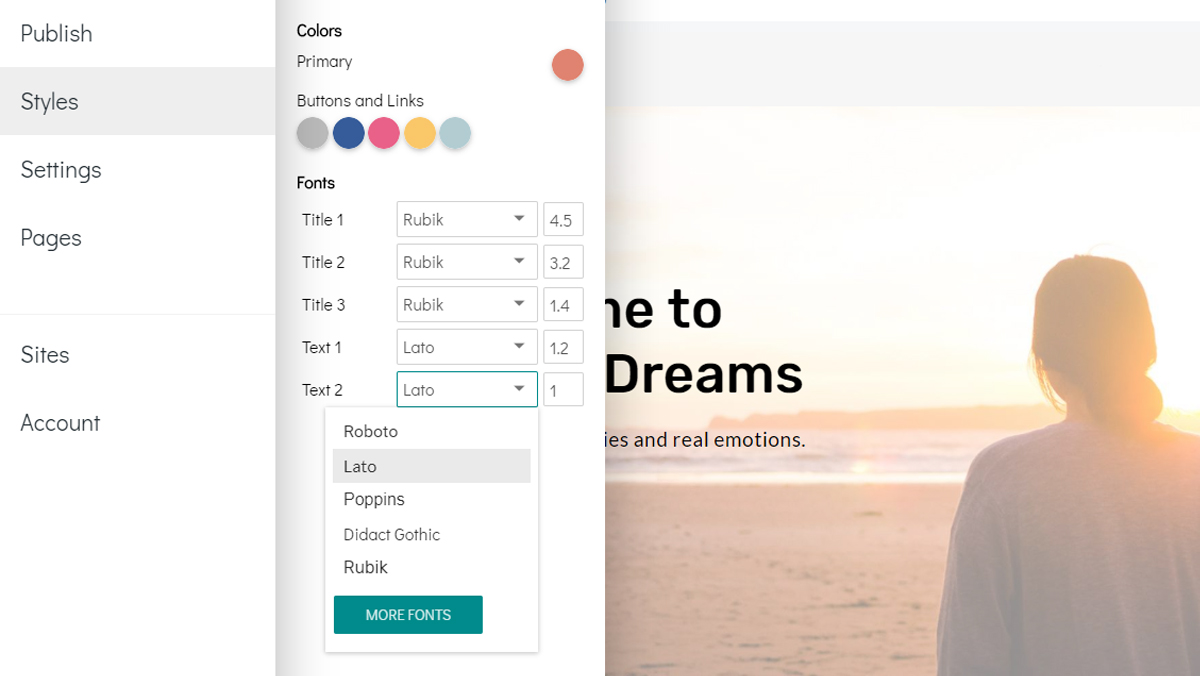
Click on the text once to see the Text Formatting list: Title 1, Title 2, Title 3, Text 1, Text 2. Once you click on the Edit Site Styles button, the Site Styles panel is opened. You can set your template colors and select special fonts on it.
I change all the blocks in my project to add my content.
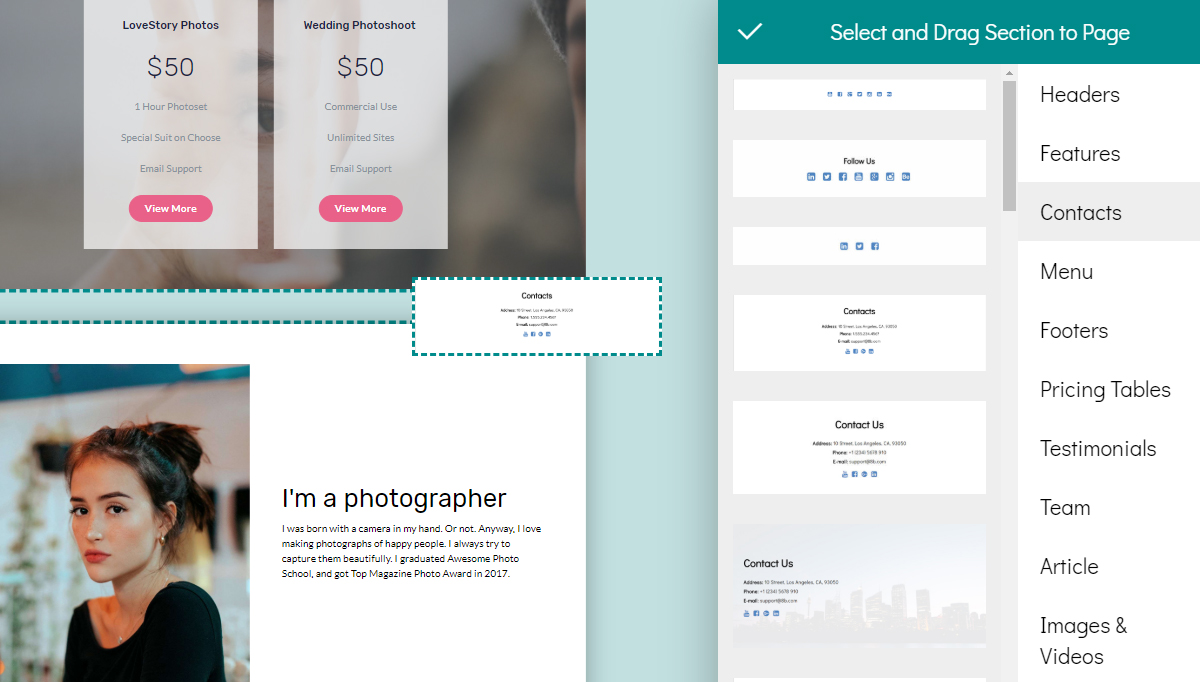
6. Add more sections.
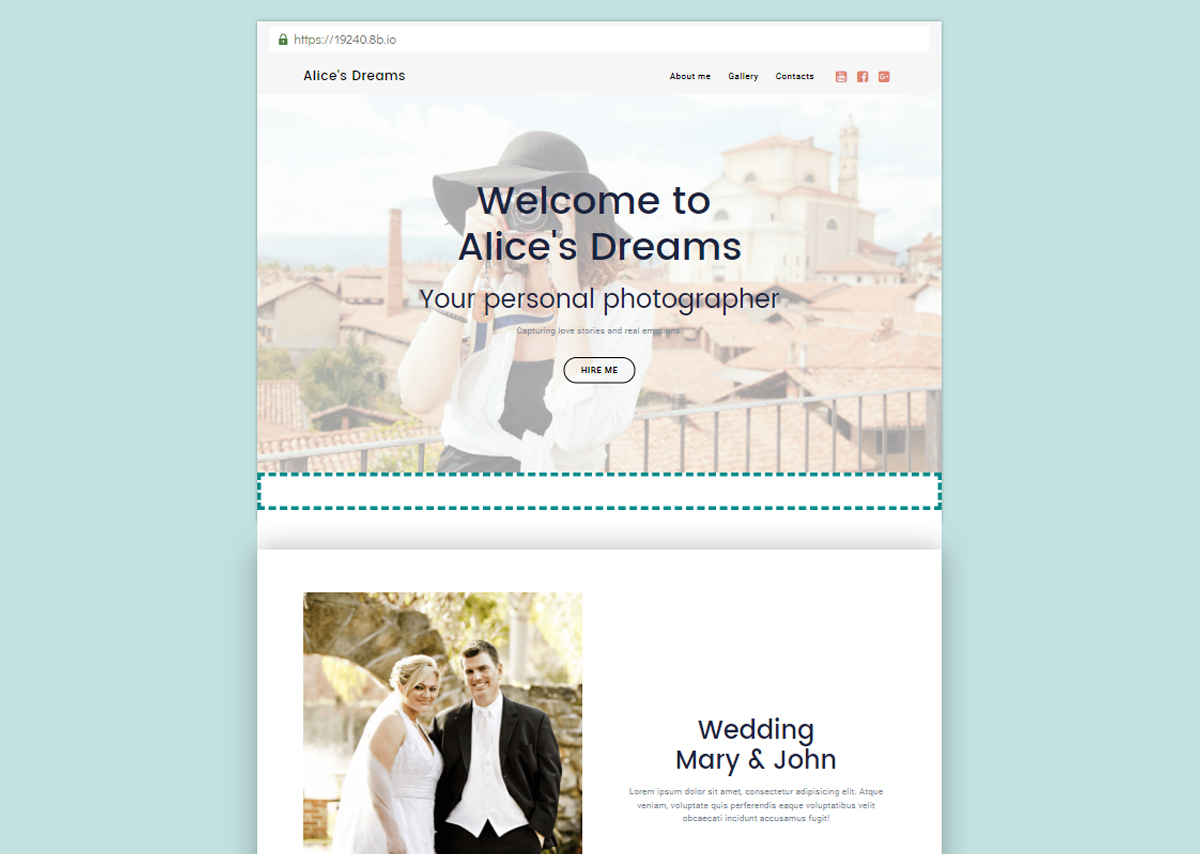
Hover a block in the editing area, and click on the Add section to Page button. Drag a needed section to your page.
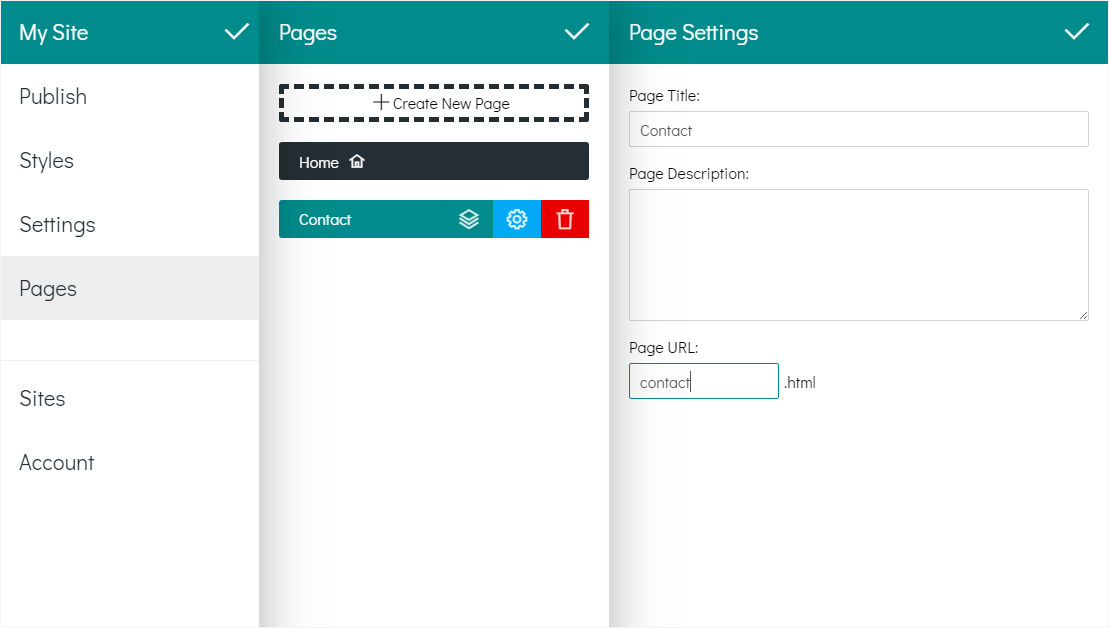
7. Set page title, description, and favicon
My site project contains only one page. To change your page title and description, open the main menu, go to the Pages list, and click on a page in it.
Your page title will be shown in a browser, and both your page title and description are processed by search engines. Don’t include double quotation marks to meta description. A meta description is usually 70-300 characters long.
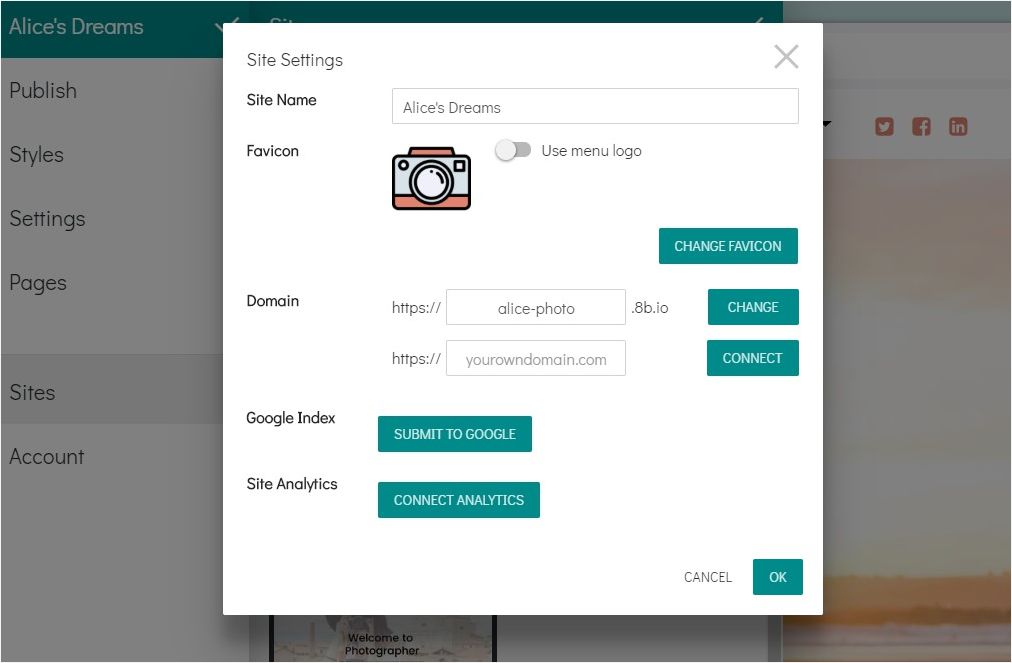
Also, I set a favicon for my website. Go to the main menu → Settings. Find the Favicon settings section, and click on the Change Favicon button. Upload your image.
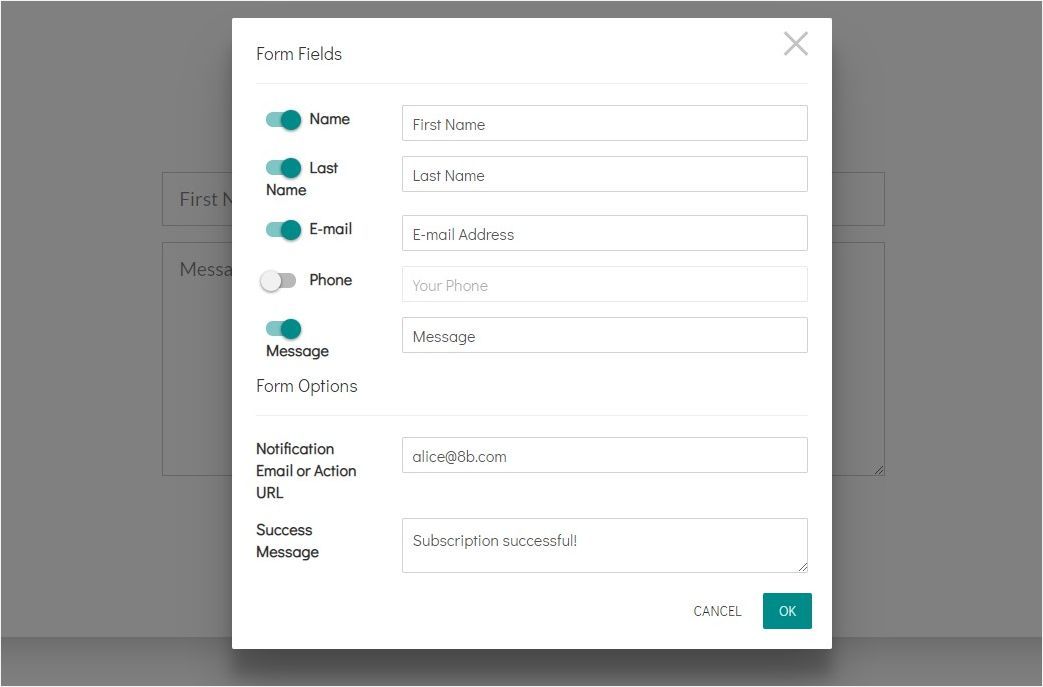
8. Setting up a form and links
Since I use a form on my page, I should set it up. Click on some form field on an added form to open the Form Fields dialog. You can set your notification email here, enable some form fields, and change form field labels.
Also, I have some buttons on my page, and a menu. I set the links. Click on the button, and on the pop-up find the Link button.
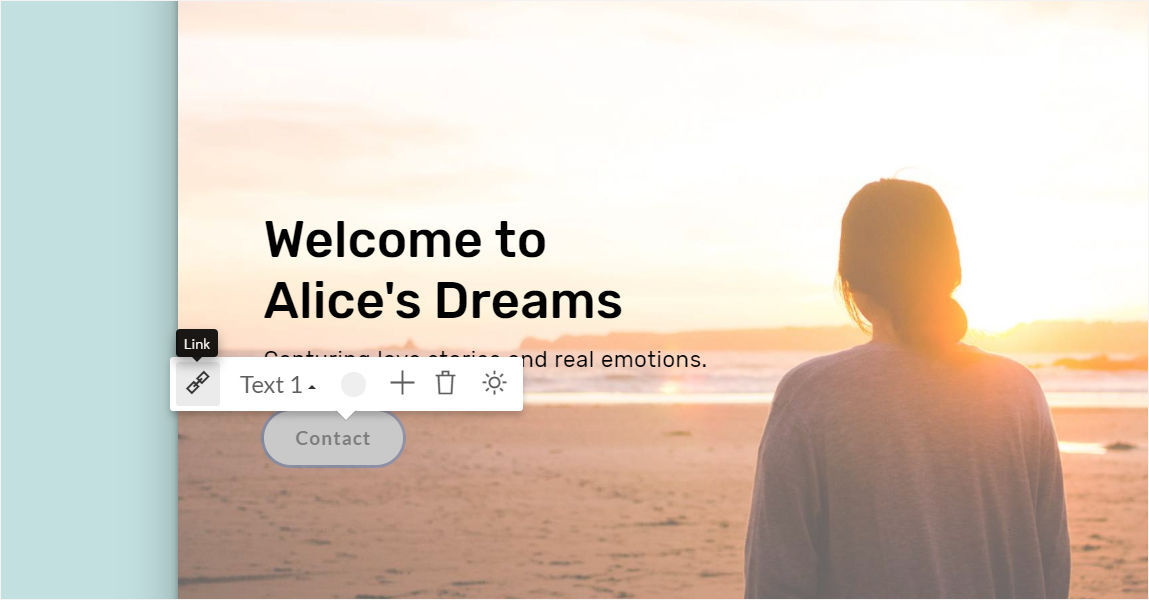
Click on it to open the Link to dialog.
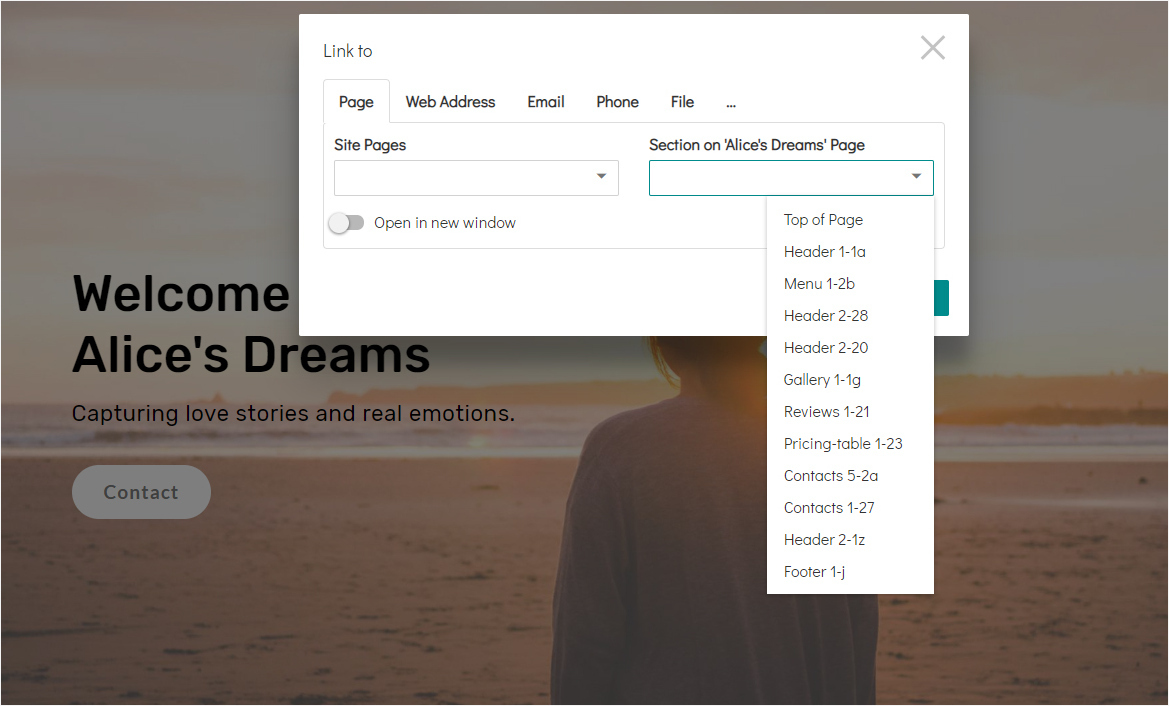
You can see several tabs on it. On the Page tab, you can select pages from your project, or sections on the same page. Other tabs also allow to set special links to other websites, emails, phones, and files. You can upload pdf, doc, docx, ppt, pptx, xls, xlsx, odp, odt files up to 3Mb.
The same is for the menu items. Click on them to set the links. Click on the Insert Link button to save changes.
9. Publish and preview your website
When your site is ready, open the main menu and click on Publish.
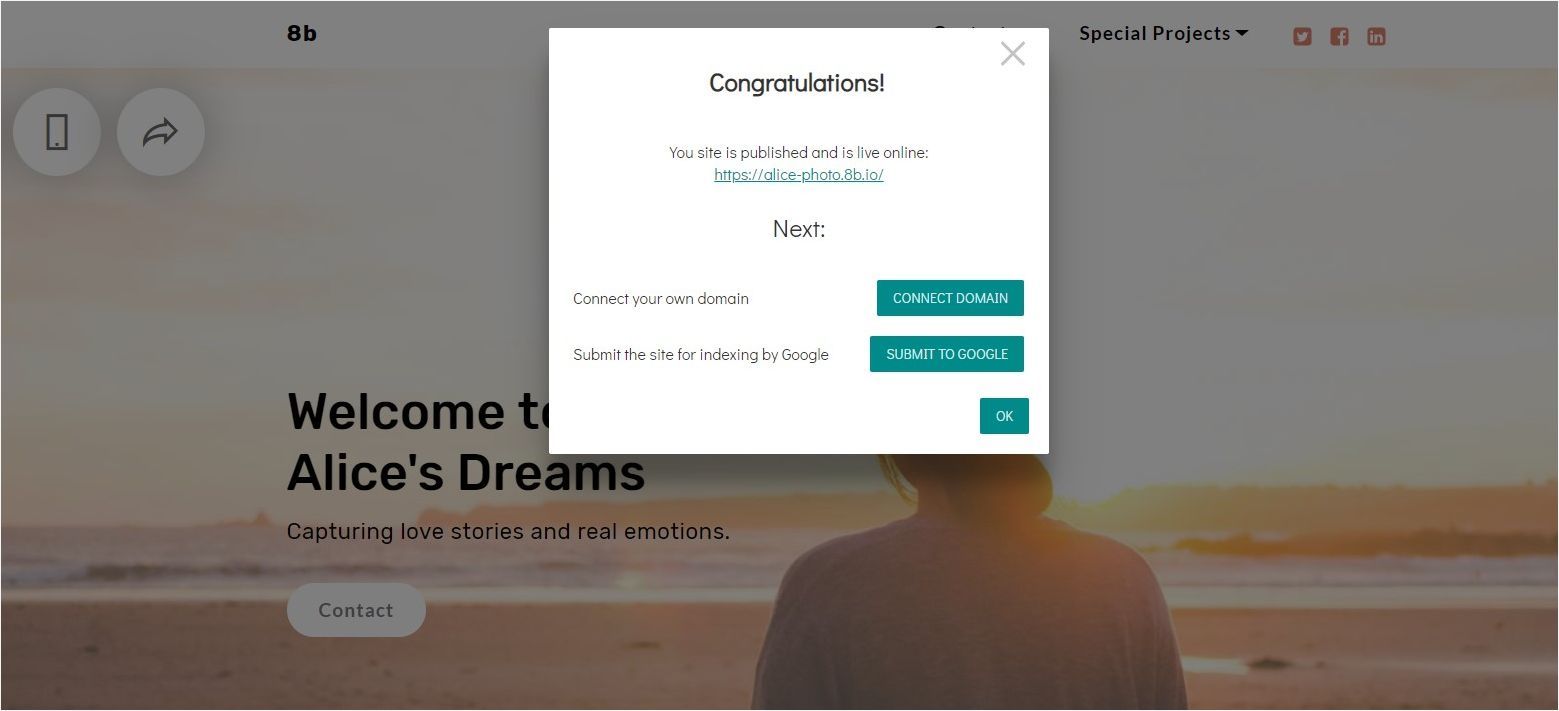
You can follow the link to view your site or close the window to preview your website.